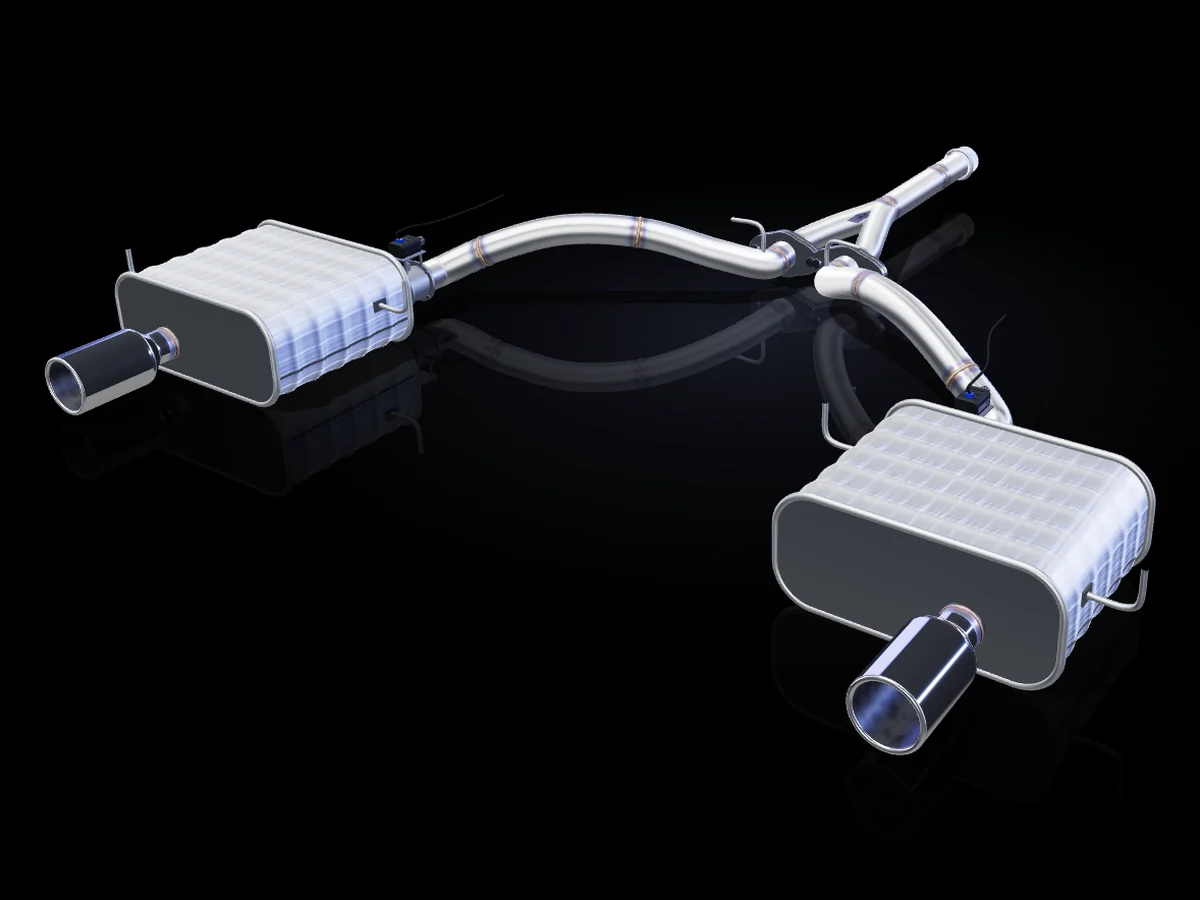
What a professional exhaust installation involves
A well-designed exhaust only performs as well as it is fitted. The difference between a good and a great result is usually in details you never see: alignment, clearances and a proper leak check.

In short
- Vehicle-specific systems bolt to the original mounting points.
- Tailpipe alignment and heat clearances are what make it look and last right.
- Keep the original exhaust — it can be refitted later.
Step by step
- On the lift — the car is raised and the original system is unbolted; seized fasteners are treated with care rather than force.
- Loose fit first — the new system is hung on the original hangers with all clamps loose.
- Alignment — tailpipes are centred in the bumper with an even gap, and the system is checked for clearance to body, heat shields and suspension.
- Tighten in order — new gaskets, clamps tightened evenly from front to back.
- Valves — actuators are connected and tested in every mode.
- Leak check and test drive — with the engine running and again after the system has been through a heat cycle.
Why the details matter
A tailpipe that sits a few millimetres off-centre is visible from metres away. A pipe that rests too close to a heat shield can rattle or overheat nearby parts. And a small leak at a joint changes the sound and can let exhaust gas where it should not be. None of this is difficult — it just takes time, the right tools and someone who does it often.
The best installations are the ones you never think about again.
Before the appointment
- Confirm the fit — make, model, year and engine against the system you ordered.
- Check the paperwork — any approval documents for the system should travel with the car.
- Plan the valve control — factory signal or separate controller, so the workshop knows what to connect.
- Decide what happens to the original system — take it home, so it can be refitted later.
Valve wiring and setup
Where the car controls its own valves, the new system is connected to the original signal and tested in every drive mode. Where a separate controller is used, it is powered, routed away from heat and moving parts, and paired with its remote or app. Either way, the valves should be checked open and closed before the car leaves the lift.
What to check after a few weeks
After a few heat cycles, metal settles. Listen for new rattles, look at the tailpipes from behind to see that they are still centred, and have the clamps and hangers checked at the next opportunity. It takes a few minutes and keeps the installation as good as on day one.
After the installation
Expect a little smoke or smell on the first drives as protective oils and residues burn off — that is normal. After the first few hundred kilometres, a quick re-check of the clamps is good practice. And keep the original exhaust somewhere dry: refitting it later is straightforward when the new system uses the factory mounting points.
Questions about this topic
01Can I install the system myself?
With a lift, the right tools and experience it is possible, but we recommend an authorised dealer for alignment, valve setup and a proper leak check.
02Is the smoke after installation normal?
A little smoke or smell on the first drives is normal as residues burn off. If it continues, have the system checked.
Keep reading
More guides
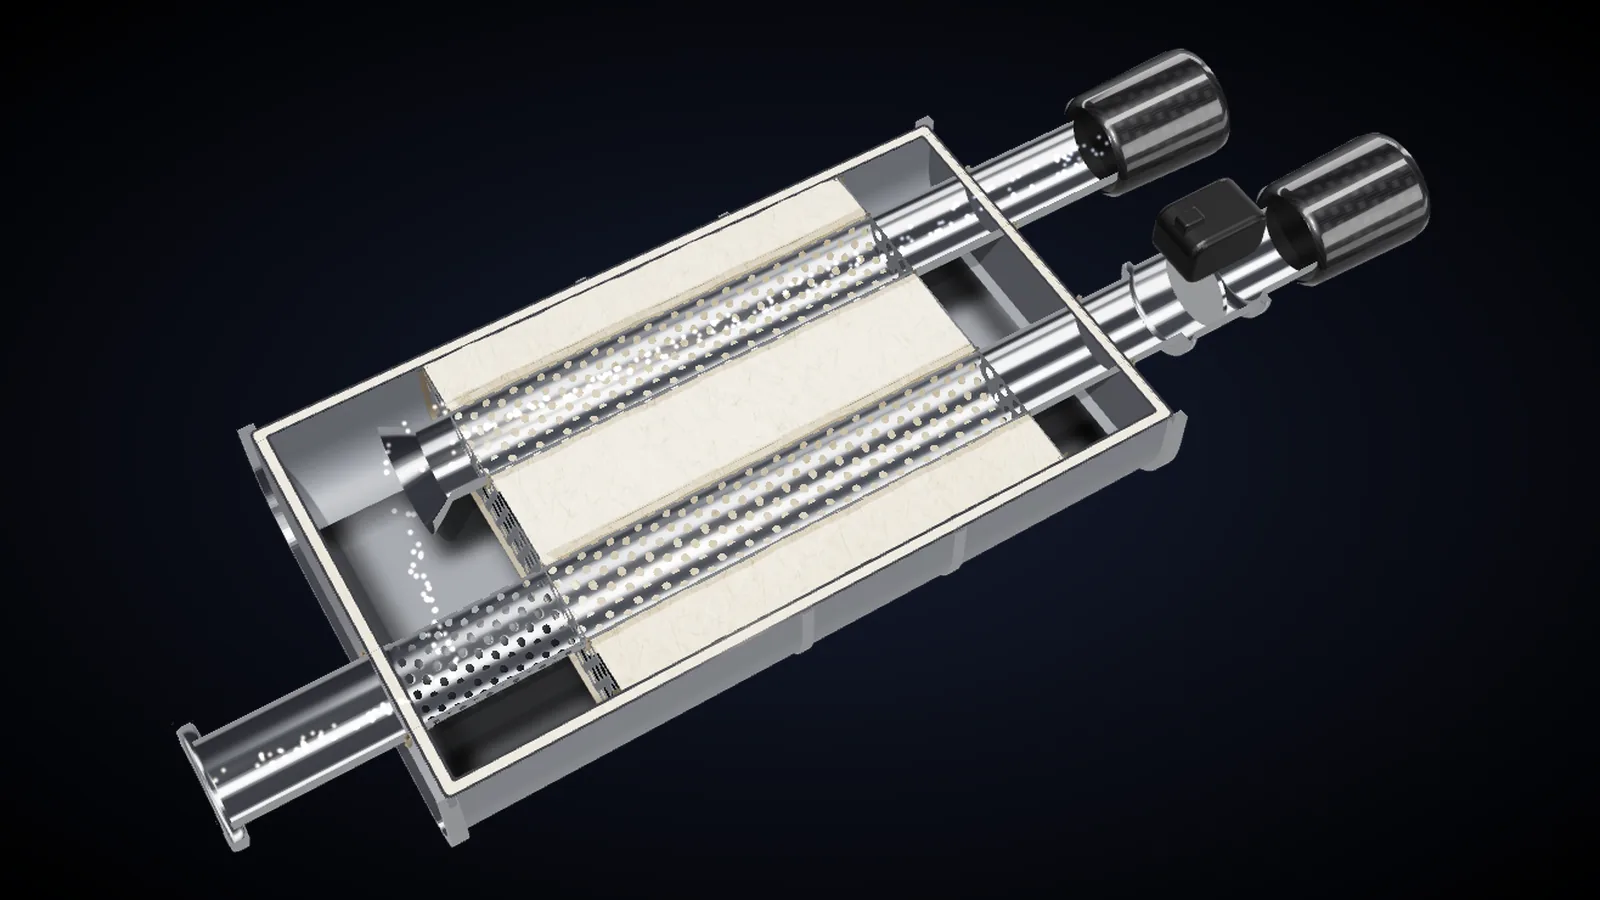 How a valvetronic exhaust works
What the valves in a valvetronic exhaust do, how they are switched and why one system can be quiet in the morning and loud on the weekend.
Read
How a valvetronic exhaust works
What the valves in a valvetronic exhaust do, how they are switched and why one system can be quiet in the morning and loud on the weekend.
Read
 Titanium vs stainless steel: which exhaust is right for you?
Titanium or stainless steel? How the two exhaust materials differ in weight, sound, heat colour, durability and price — and how to choose.
Read
Titanium vs stainless steel: which exhaust is right for you?
Titanium or stainless steel? How the two exhaust materials differ in weight, sound, heat colour, durability and price — and how to choose.
Read
 Exhaust drone explained — and how a good system avoids it
Why some exhausts boom inside the car at motorway speed, which frequencies cause it, and how chambers, resonators and valves keep a system drone-free.
Read
Exhaust drone explained — and how a good system avoids it
Why some exhausts boom inside the car at motorway speed, which frequencies cause it, and how chambers, resonators and valves keep a system drone-free.
Read
Which system fits your car?
Tell us the make, model and year — we will check fitment and send you the options.